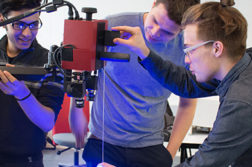
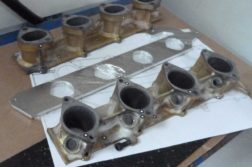
3D scanning is a great way of measuring geometrical tolerances; create 3D models of old machinery parts, a great tool for design, product development and analysis. HAMK at your doorstep is ready to serve companies. You might be wondering what are the basic requirements and what HAMK needs from you when utilizing this technology?
What is the size range for scanning?
The size range of your part can vary from 20*20*20 mm to 1500*1500*1500mm.
Can you scan larger parts?
No worries! System is so flexible that we can scan larger and bigger parts. That of course increases the scanning time.
You might be wondering, what if I want to know only about certain feature of my part or machine?
We can scan just the features you want and provide the analysis result of the features.
What about weight of the part?
Well, there is no limitation to weight.
What about the surface finish?
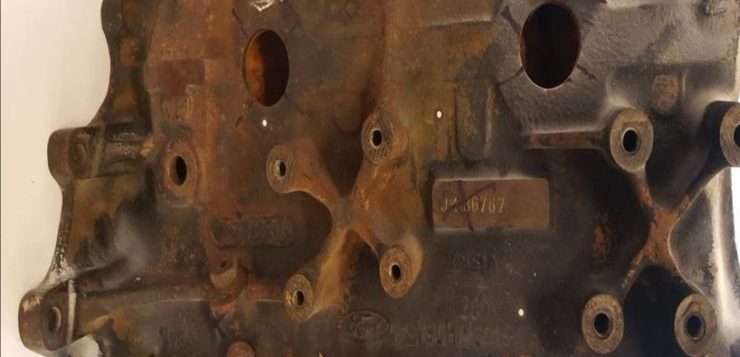
Surface finish greatly affects the quality of the scanning and depends on how reflective and non-reflective surface is. We can provide best results for the parts;
- with no rust, oils or lubricants
- non-reflective parts
- reflective parts that can be treated with titanium oxide powder(tio2)
- not very dark painted or finished part
- White painted or sand blasted part.
What kind of geometry of the part is preferred?
Our 3D scanner excels in scanning outer features, sheet metal curves, organic geometry, irregular surfaces and materials, shafts and convex shapes. It is difficult to scan features like threads, deep holes (depth/diameter greater than 1), notches and grooves, enclosed geometry and very deep concave shapes. To know more contact us and we can test what we can do with your part.
What about analysis requirements?
Analysis is like a coin in 3D scanning. If the other side of coin is missing, the coin is not so useful. The requirements differ per case. Most generals requirements are;
- technical drawing of the part or dimension and tolerance,
- basics on your part function,
- CAD file for direct comparison between the produced part and designed part, (this helps and facilitates the analysis process)
- measuring principles as like coordinate system and datums
- and last but not the least the time frame by which you want the analysis result in your hands. If you are using several measuring devices to compare the result between, we also need the measuring principle of your devices.
What about reverse engineering cases?
Reverse engineering cases require data from you about;
- specified accuracy level or range of tolerance you want in new design,
- what kind of manufacturing methods you use to manufacture the part,
- what are the potential limitations and constraints you want to keep exact from previous design or part,
- which file format for 3D models you want for example stl, step, etc.
We hope we have answered few of your questions about 3D scanning requirements. Contact us if you want to know more! HAMK is in your doorstep to serve you with this technology.


Discussion1 kommentti
I didn’t know that the surface quality of the products effected the scanning ability. It may be worth sanding it or cleaning before having it done for this reason. You want to be sure and get the best possible scan.